
How I Mount a Watercolor Painting to a Wood Panel
I don’t frame under glass. Every watercolor I sell leaves the studio mounted to a wood panel — it turns the painting into an object you can hang the day it arrives, and done right it protects the paper for decades. This is the process I use in my Salt Lake City studio, start to finish.
Why mount watercolor at all
Under glass, a watercolor sits behind glare and a mat, and you lose the thing that makes the medium worth it — the texture of cotton paper, the granulation, the way the color sits in the surface. Mounted and sealed, the painting reads the way it did on my table. Mounting is also what lets me work square, a format standard frames have never loved.
What I use
Some of the links below are Amazon affiliate links. As an Amazon Associate I earn from qualifying purchases — it never changes what you pay, and I only link materials that are actually on my table.
Paper: a 300lb cotton block — I use the New York Central 8×8 300lb cold press block. Heavy paper stays flat when it is glued down. My everyday 140lb block is the BAOHONG 100% cotton cold press, which also mounts beautifully.
Panels: unfinished cradled birch. U.S. Art Supply 12×12 birch panels for my larger work, and MEEDEN 8×8 wood boards for the size I sell most.
Adhesive: a professional-grade acrylic medium. My go to is Golden Gloss Medium. It is archival, it dries clear, spreads easily, and it does not let go. A cheap glue stick or spray adhesive will fail you in a year — this is the one place not to economize. It also can work as a protective layer over the watercolor piece when you’re ready to seal.
Plus: Something heavy and flat — art books work but I use the bench weights I have next to me in my studio/gym combo basement :)
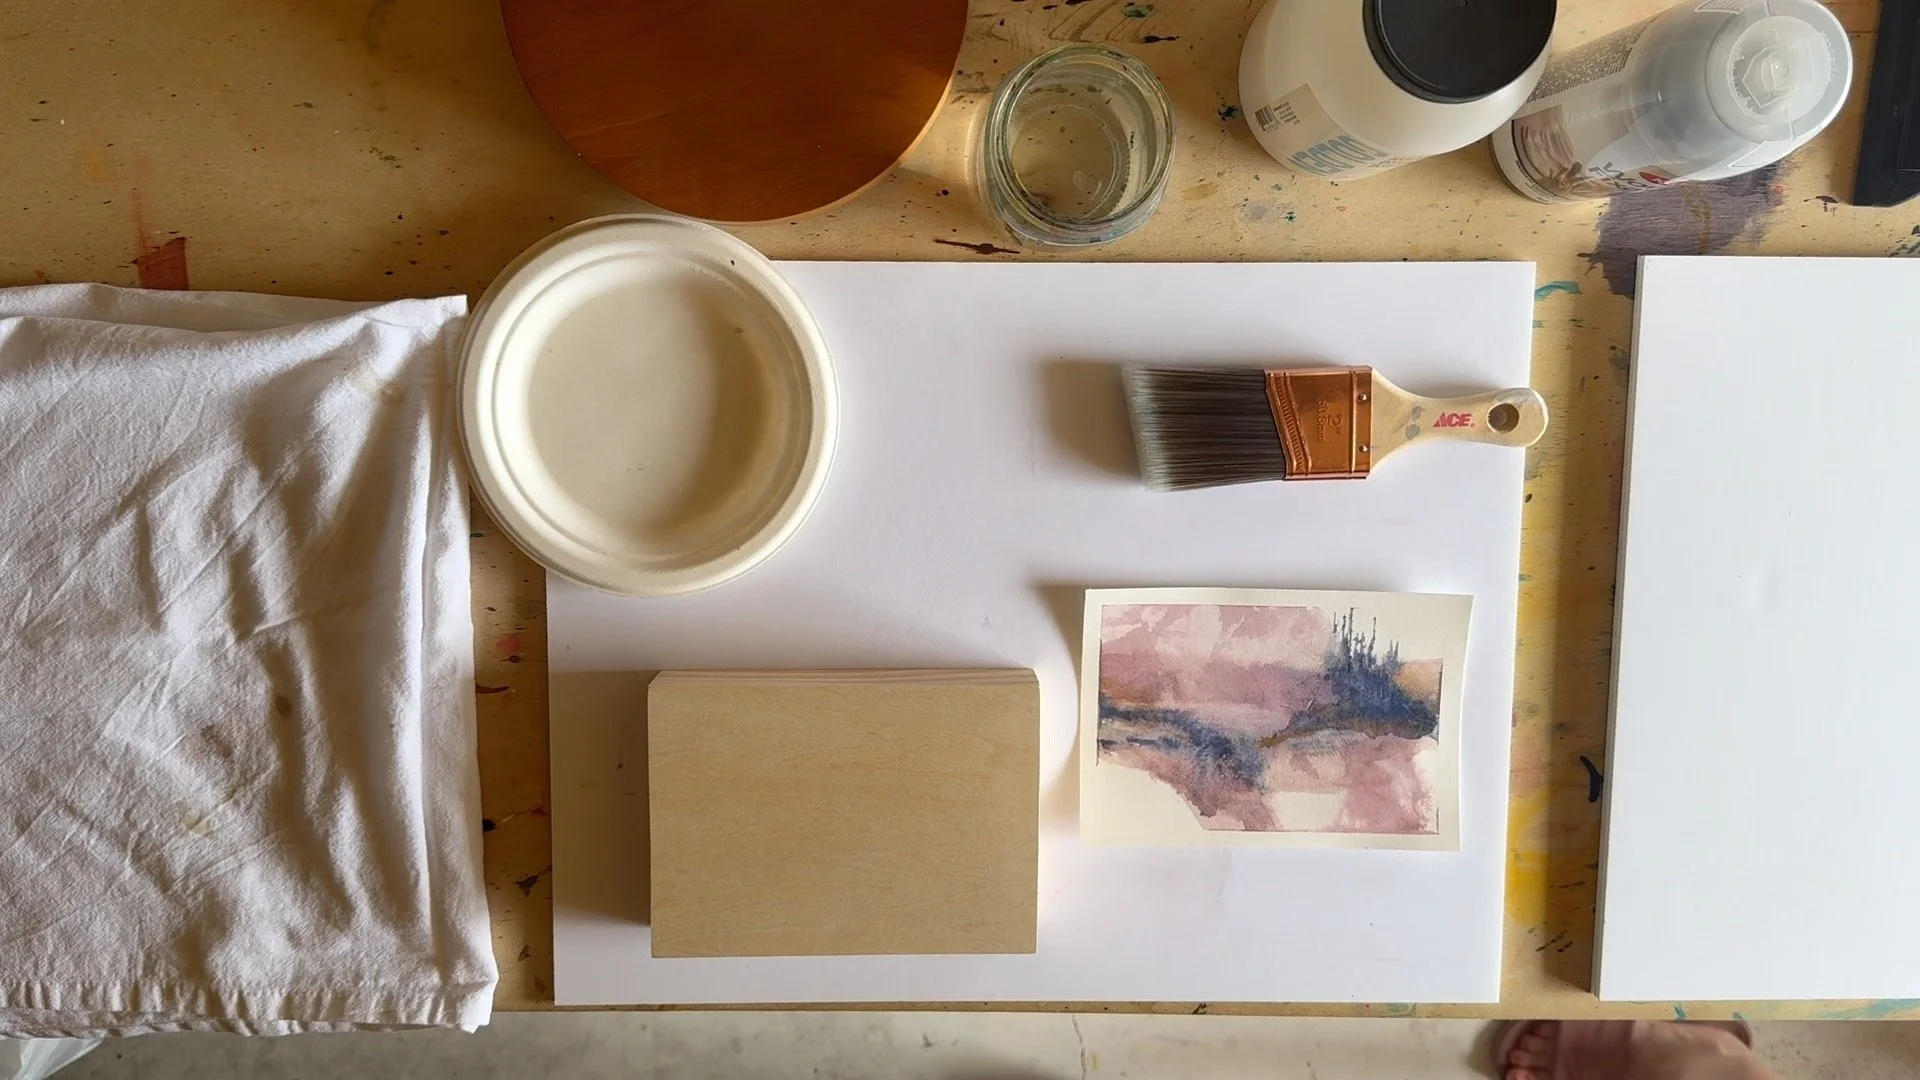
supplies
The process
Before the panel ever comes out, two steps happen off camera. First, the finished painting gets flattened — rewetted on the back with water and pressed flat overnight. That process deserves a full post of its own, and one is coming.
Second, the piece gets several coats of workable fixative and proper drying time, so nothing lifts or moves during mounting. I tend to have pastels and graphite on my finished works, so that’s why I use fixative. I do think it doesn’t hurt to give your only watercolor pieces a coat either. Helps secure the surface prior to your complete finish.
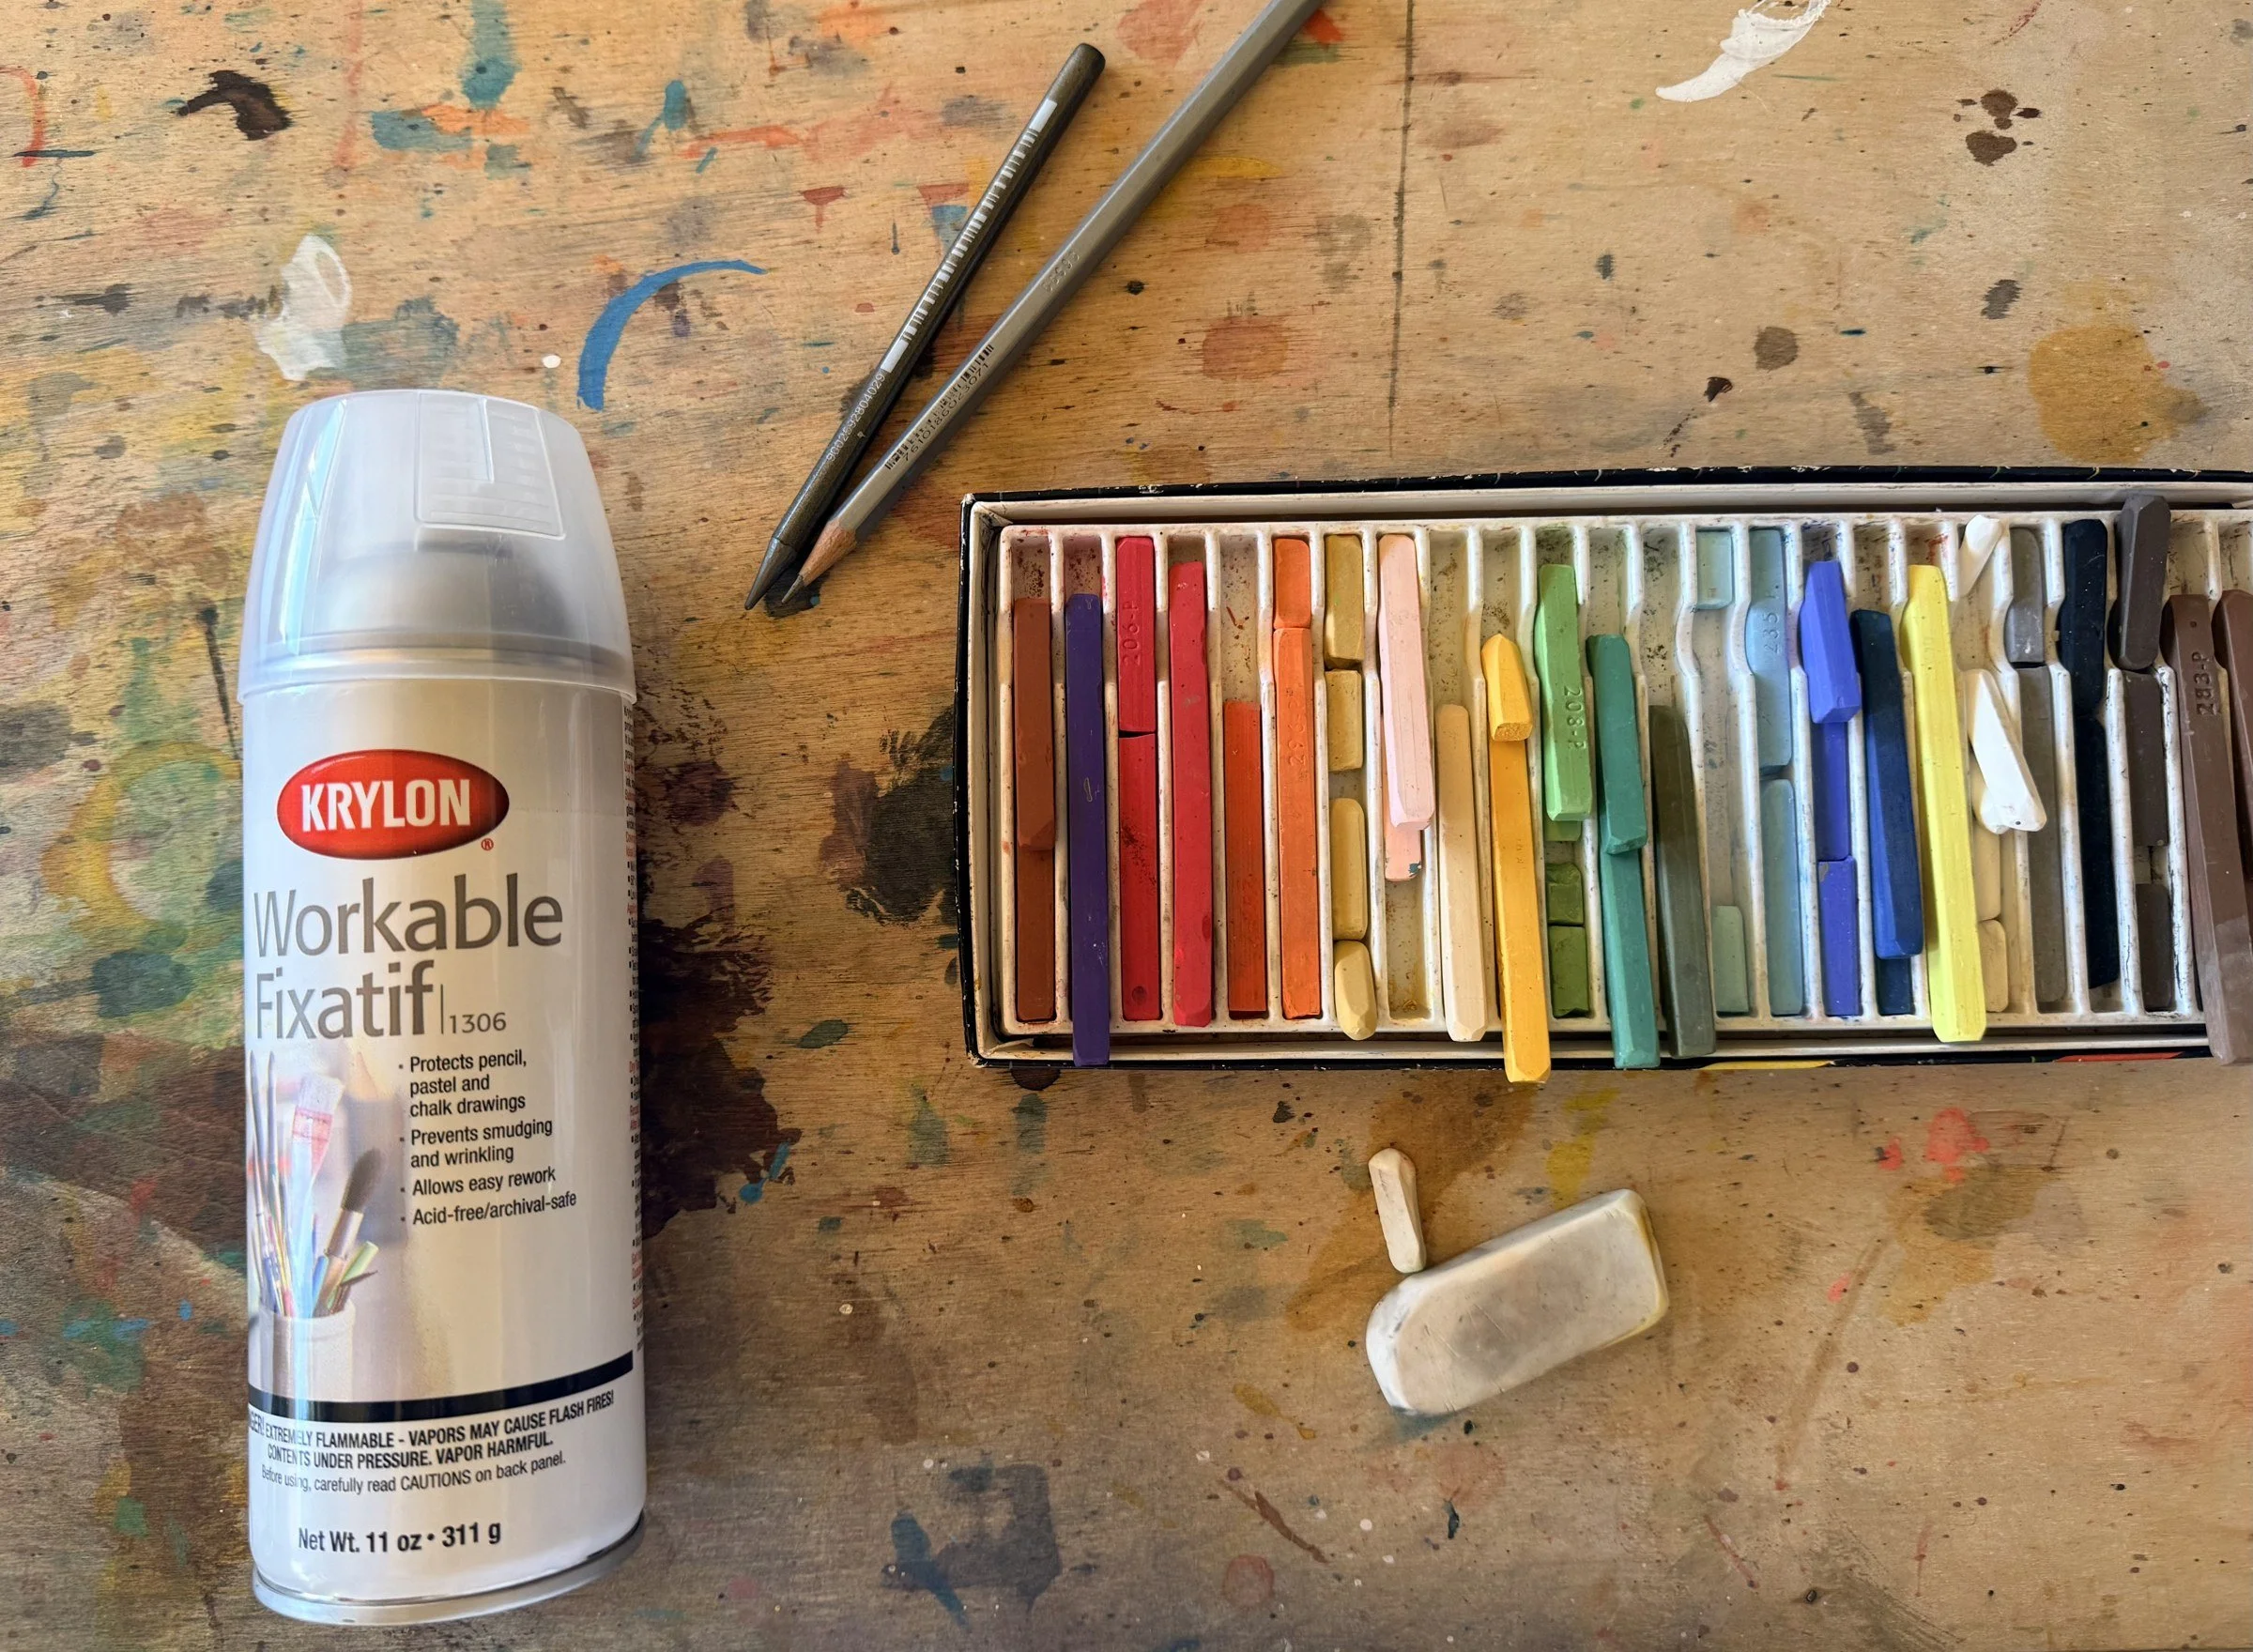
set your painting
Step 1 — Glue up. A thin, even layer of gel medium across the whole panel face — I spread it with a big soft brush so there are no ridges. Set the painting down from one edge like laying wallpaper, then press from the center out to the edges. Work faster than feels polite; the medium starts grabbing in a couple of minutes, but be careful with this step. Keep your hands clean so you don’t accidentally mar your work.
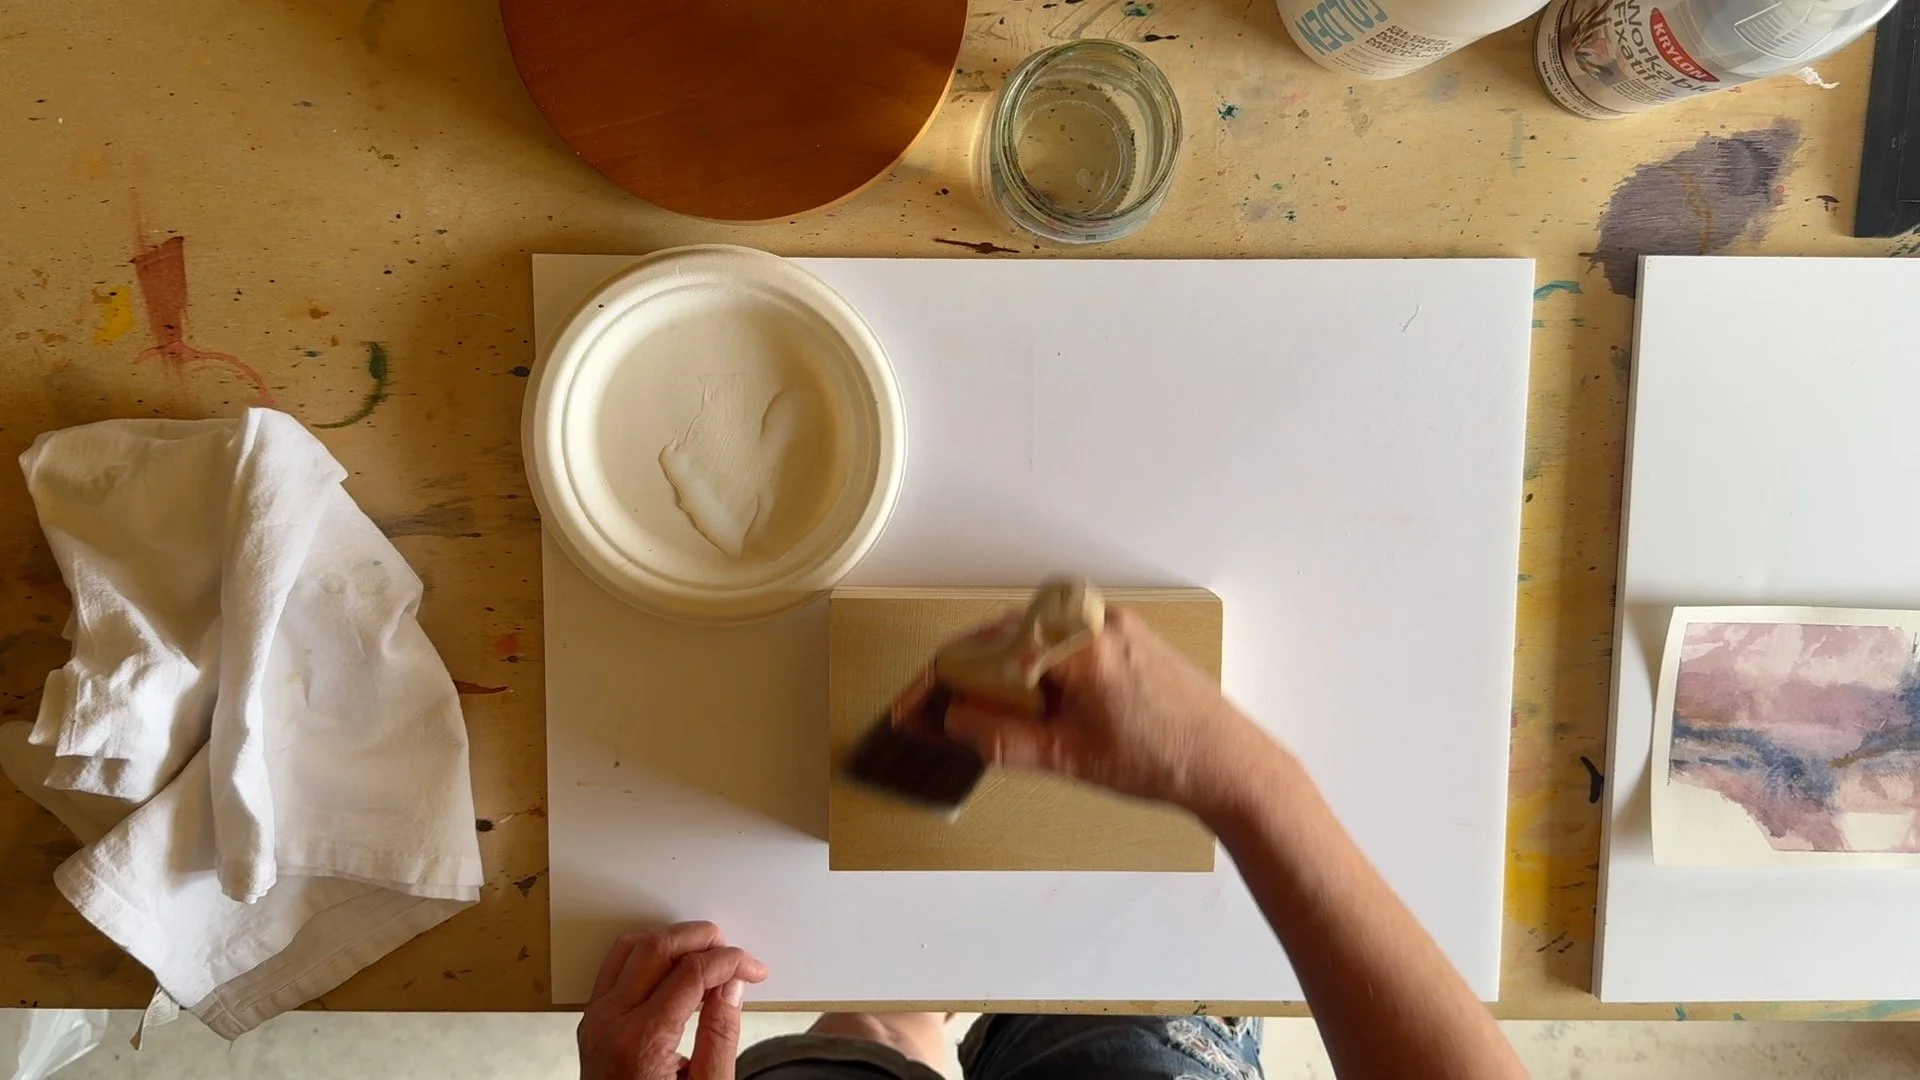
spread gel medium
Step 2 — I like to face the painting down so the table surface provides even pressure. I protect the back of the panel with another flat board and spread my weights as evenly on top as I can. Overnight, minimum. This is what keeps the paper dead flat while the medium cures.
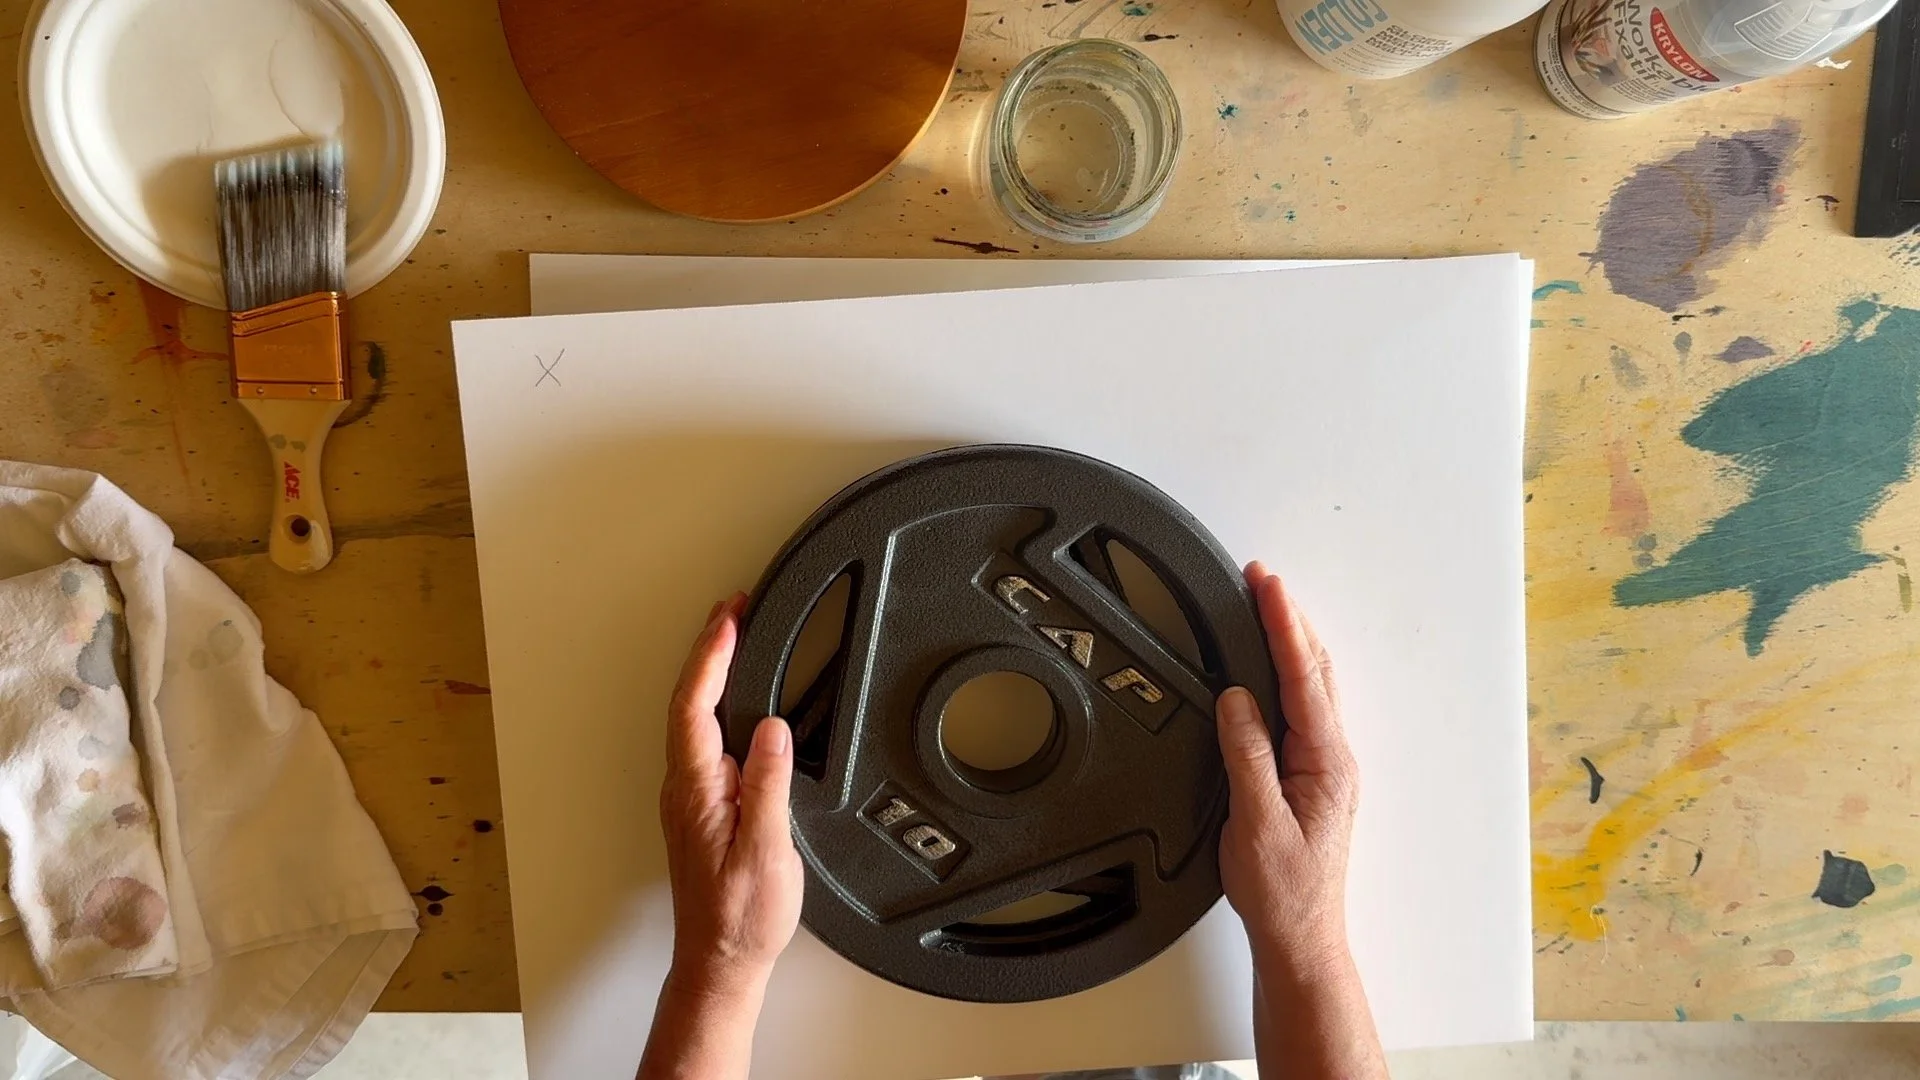
weight your piece
Step 3 — Trim flush and finish. A fresh blade run around the panel edge, then a light sanding pass. I leave the birch sides raw — that unfinished edge is part of the look my collectors know — and I seal the finished painting with an isolation coat and then a UV-protective varnish so it can hang without glass.
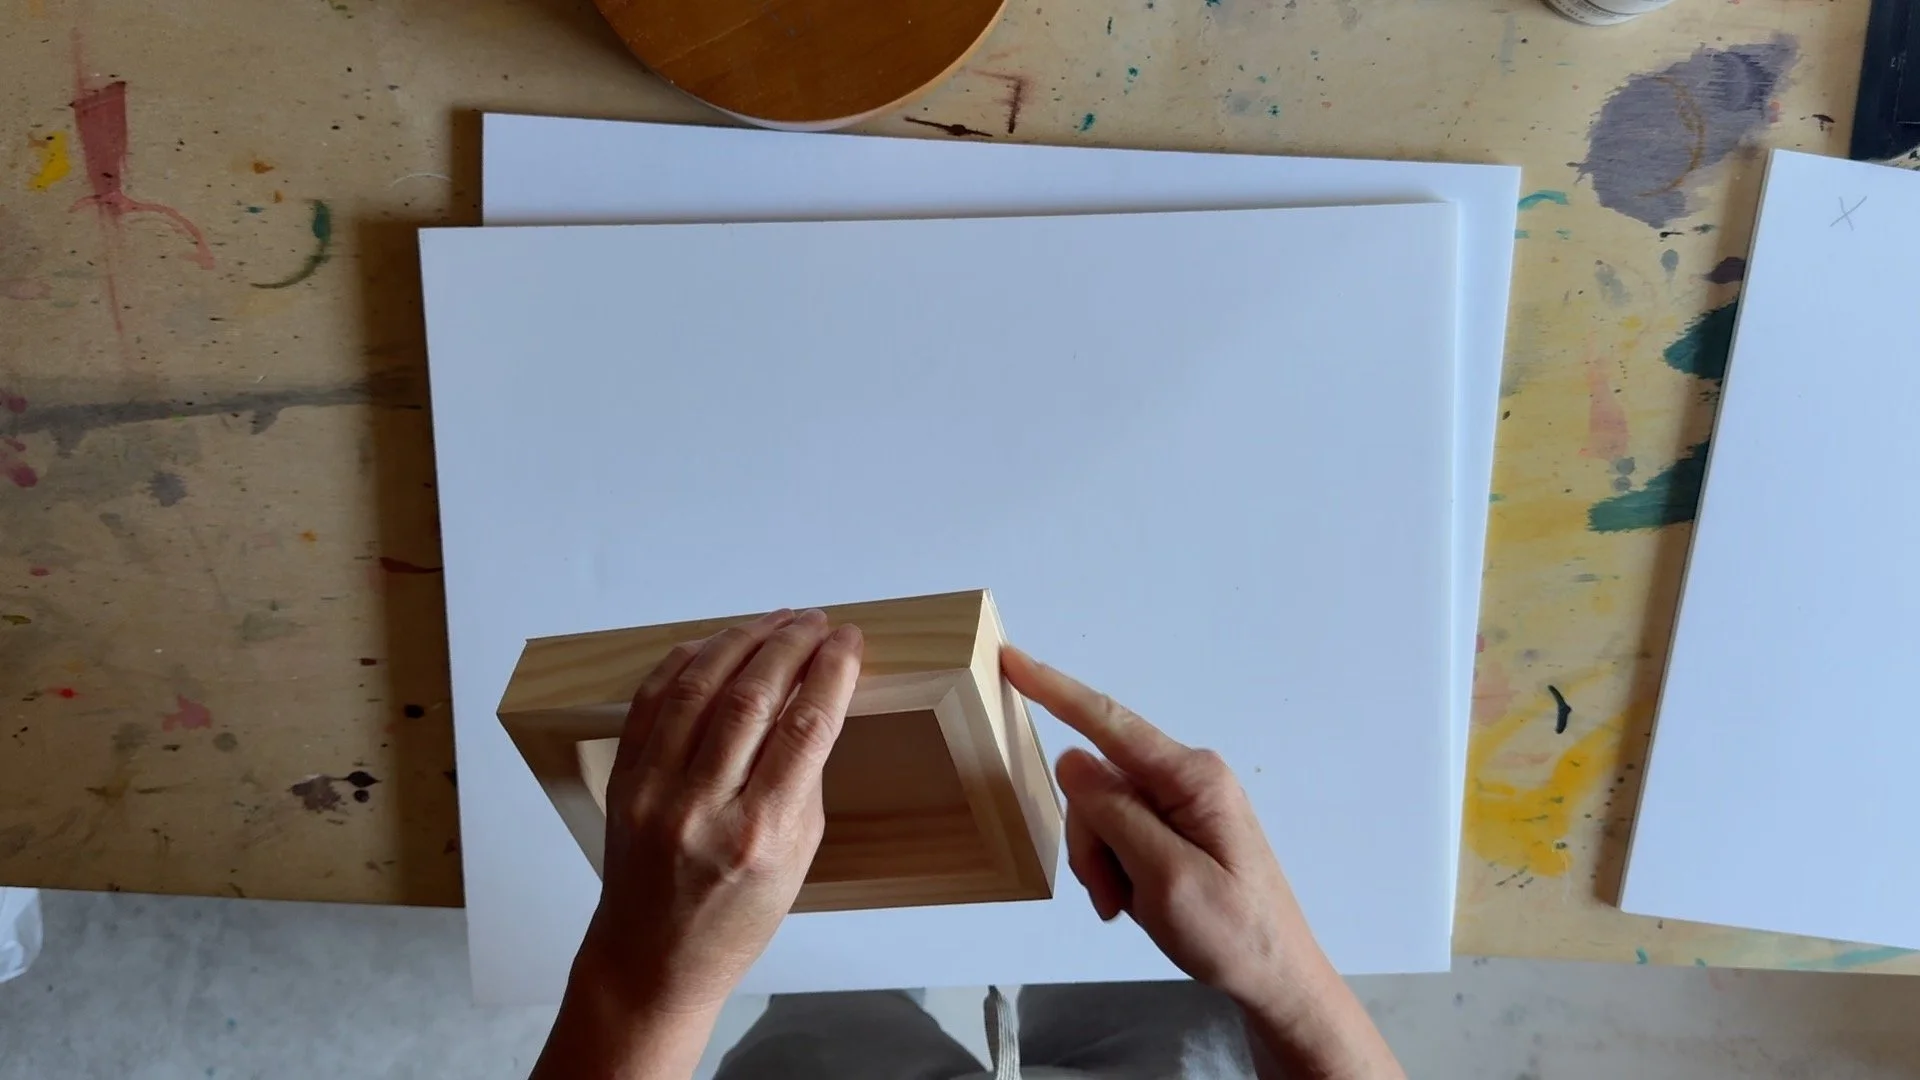
trim overhanging edges and lightly sand excess glue
Every original in my shop is already mounted this way — you can see what is currently available here. And if you want the full list of what is on my studio table, paints and paper included, it lives on my Amazon storefront.
— Tara